Monday, March 30, 2015

How to Make Your Spring Sparkle

Hi everyone!  Hope your Monday is starting out great and that you had a wonderful weekend.  Me...well, spring has definitely sprung, so we spent a good portion of the weekend working in the yard.  I love all the beautiful flowers at the garden supply these days and couldn't resist bringing some home.  Of course, I had to make the pots I was planting in extra special....


This is a super quick and easy project with the help of the Rhinestone Sticker Sheets from The Buckle Boutique.

To begin, I simply measured the depth of the rim on my clay pot....simple, right?
 
Then cut the Rhinestone sticker in strips to size.  I chose to use a craft knife and ruler, but you could easily cut these rhinestone sticker sheets with scissors.  

The last thing you need to do is stick the strips around the rim of your planter.  So simple, right?  It took a bit of burnishing to get the gaps out of my planter, but overall this was so simple
 This project is super easy and fun and would make a great alternative to cut flowers.
Hugs.

Friday, March 27, 2015

Grannie Box?

Hi everyone!  I hope you are having a great day.  Today I want  to share with you how I embellished one of the beautiful new Clear Boxes from Clear Scraps.
Pink box_clear scraps_nancy keslin1

These boxes are so much fun to play with and embellish.  I used some older supplies on this one....some SEI that must have been in my stash forever...maybe circa 2008?  Funny how we love something and then hold onto it for years.  I am sure at one point I loved it so much I couldn't imagine parting with it.  Then slowly it gets pushed to the bottom of the pile and here we are years later.   lol

Pink box_clear scraps_nancy keslin
 See that cute little frame on the front...that is one of the new mirrored frames also new this season from Clear Scraps.  And again, lots of older supplies...Prima flowers that I had to have, and some beautiful baubles....sigh...why do I hoard so many things.  This year I am definely working throught the stash....goal number 1!
Pink box_clear scraps_nancy keslin 2

To me the box looks a bit grannie...but I like it just the same.  How would you embellish one of these beautiful boxes?

Nancy

Wednesday, March 25, 2015

A Little Spring in my Step

Hey everyone!  Sorry I am a bit late today...just not feeling it. lol  Ever have those weeks?  I have so many projects ready to share, but some days just don't feel like sitting down to blog.  Brighton is home this week for spring break, Mackenzie has spring break next week, and Ainsley the week after...Ugh, hate rolling spring breaks.

Anyways...... Today I wanted to share this cute little ATB I made with a Sizzix die from Eileen Hull.  I had this paper in my stash from Webster's Pages forever and since I am trying to get through the stash....


I had to add one of the beautiful burlap and glitter birds I had from Darice and a few little flowers and birds nest from Prima Marketing.  

My littles aren't so little anymore.  Way to big for Easter baskets, so I am thinking of making a few of these and filling them with little treats for the children.

Hugs.

Monday, March 23, 2015

Hop on the Love Mobile - Core'dinations

Hi everyone!  Today I wanted to share with you a mobile I made for Core'dinations.  I love making these little mobiles as a way to display some of my favorite photos (this is my third).  I know that the project may look somewhat intimidating, but really, I probably doesn't take as much time to complete as a mini album.

Love Mobile Supplies:
Step 1:  Begin by cutting a variety of shapes in different sizes from the papers.  Remember that this project is multidimensional, so you will need fronts and backs.  Hearts, scalloped circles and regular circles work best for me as I can easily layer them.  I also embosssed the chalk core and spotted papers for added dimension and interest.
Step 2:  Sand the embossed shapes to reveal the shapes and add interest.
Step 3:  Layer shapes and embellishments to create mobile items.  Create strands of these embellishments mixing them with the photos.  I used a total of 7 strands for my 8 inch embroidery hoop and used photos cut into to inch squares.  Remember that your mobile doesn't have a front and back, so you will want to have your photos glued back to back.  I used 2 of these photo groupings and 3 of the layered embellishments for a total of 28 photos and 42 layered shapes.   I also chose to create the large flying heart shape to hang in the middle of the mobile.

Step 4:  To assemble strands you can sandwich wire between the shapes.  Be sure to leave enough wire at the top of the strand to wrap around the embroidery hoop.
Step 5:  Or you can poke holes in your shapes and photos and wrap the wires around and through to create a loop.  Add beads, pearls, and gems between the photos and embellishments for extra interest and sparkle.  Sequins are also fun to use.
Step 6:  To assemble the mobile simply wrap the wire at the top of each strand around the embroidery hoop.  Be sure to space your strands evenly.
Step 7:  I used twine, evenly spaced around the hoop, to create the hanger.  Simply tie a small knot in the twine and gather at the top.
Step 8:  Finally wrap the embroiderry hoop with lace.  

See, that wasn't so hard.  Hope you have a great day.

Hugs

Friday, March 20, 2015

Sparkle Bunny - The Buckle Boutique

Hi everyone!  Hope you are having a great day.  I am soooo ready for the weekend.  Just Ainsley and I as Mackenzie and Phil have headed to Junior Olympics for some swimming.  Anyway....

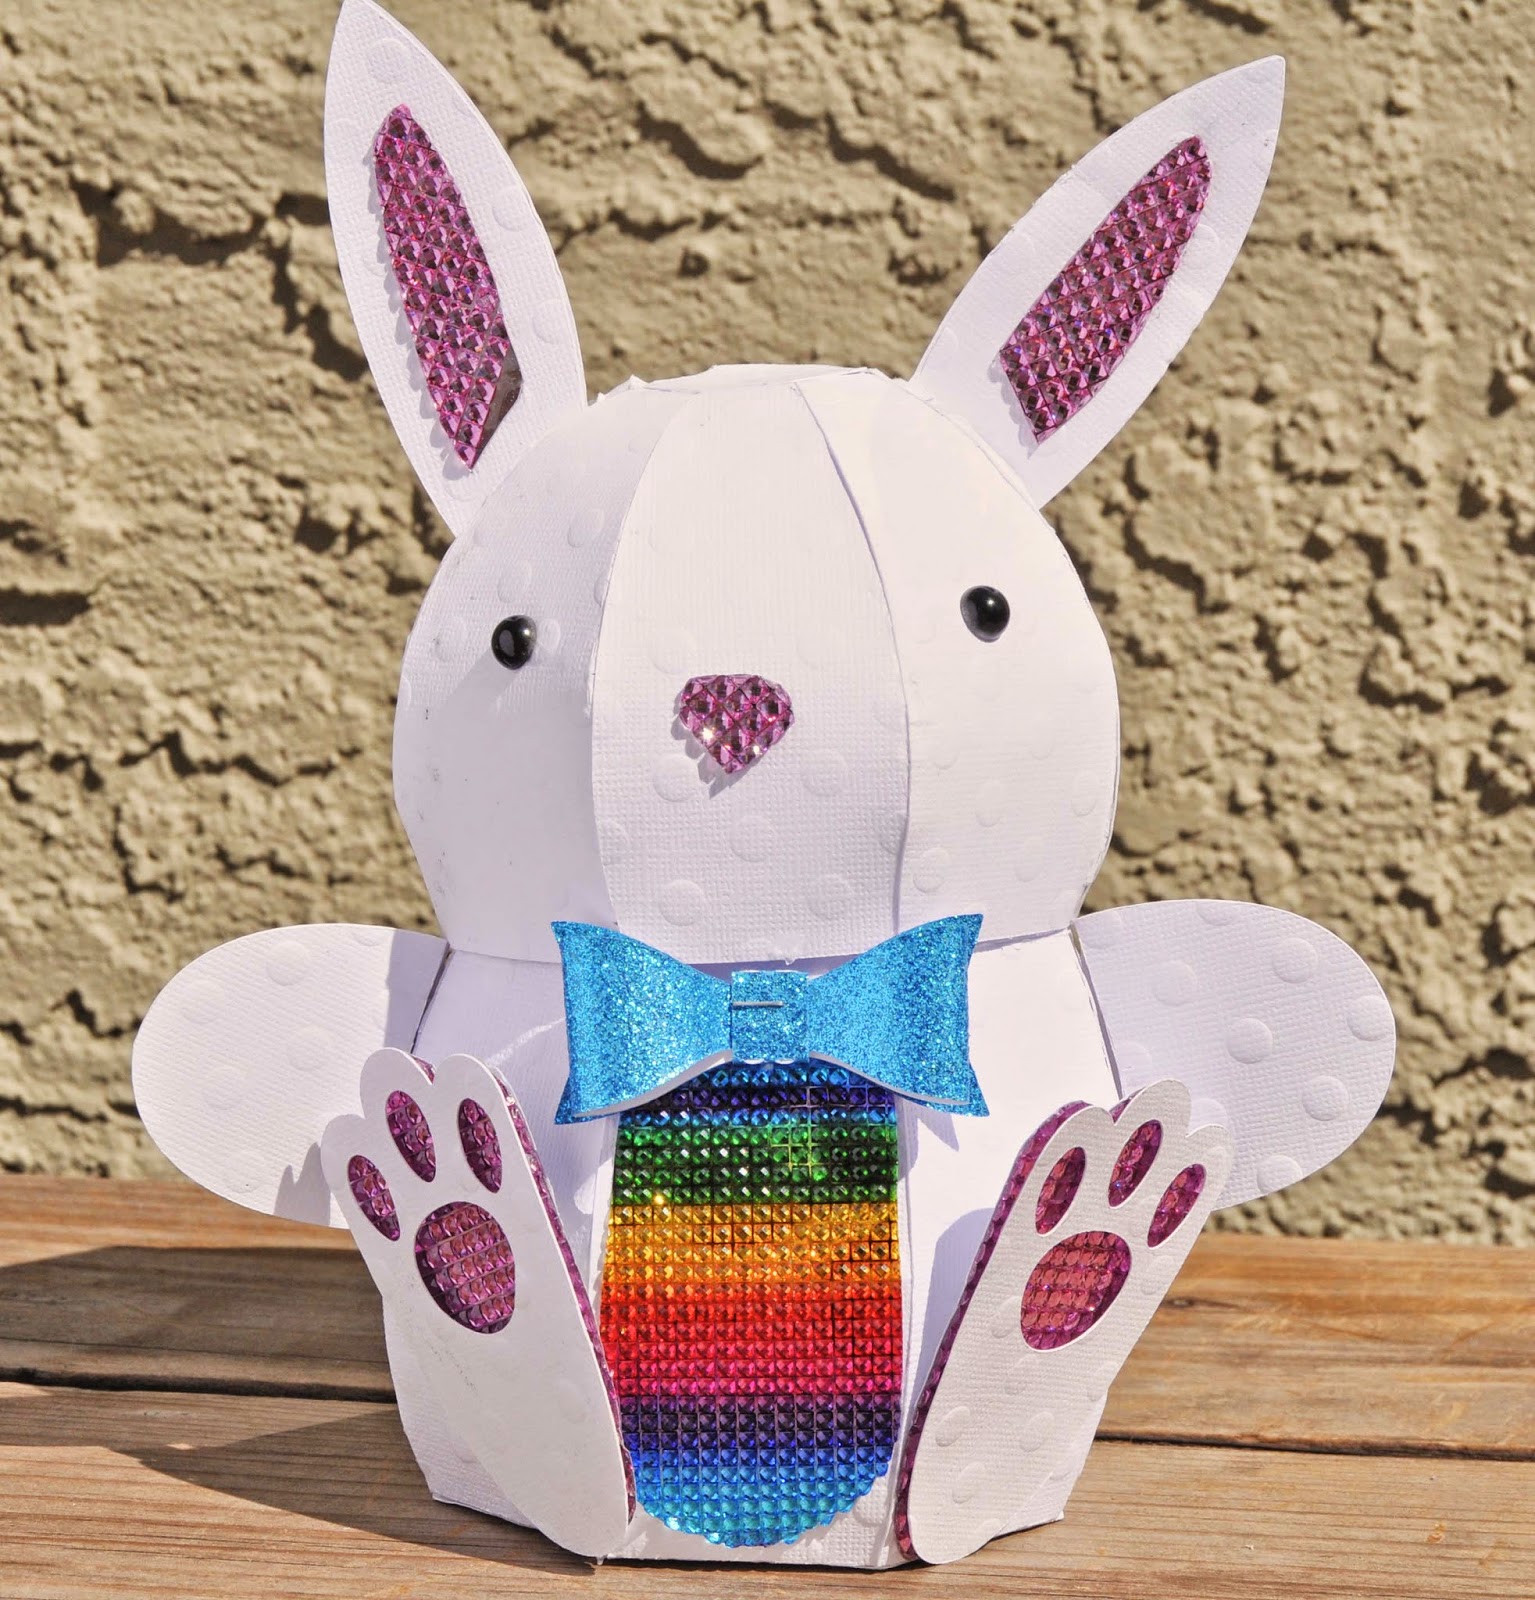
I am so excited to share with you my first project for The Buckle Boutique.  This cute Sparkle Bunny.

Sparkle Bunny Supplies:


You can find all the instructions to cut and create the bunny on the SvgCuts site.  To embellish my little bunny I used the cut files for the bib, ears, nose, and feet as a template to cut my Buckle Boutique Rhinestone Sticker Sheets.  Although my machine will cut the sheets, I just feel more comfortable sometimes cutting those pieces by hand.

To do so, simply trace your template onto the back of the Rhinestone Sticker Sheet
 And Cut shapes with scissors.  The Buckle Boutique Rhinestone Sticker Sheets cut very easily with scissors.
 Then simply remove the sticker backing and set in place.

How cute is this little Sparkle Rabbit.  I am sure my family and friends will be enjoying hiim for years to come


Wednesday, March 18, 2015

Pin the Tail on the What? Coredinations

Hey everyone!  Today I want to let you know that I have a project up over on the Core'dinations blog.  A little something I made for my niece.  My sister really loves throwing a more traditional, retro, party...and since Lili's birthday is so close to Easter, she like to have an egg hunt.  I thought this little project would tie in perfectly.


Hugs.

Tuesday, March 17, 2015

A Little Green

Hi everyone!  Happy St. Patrick's Day!  Today I wanted to stop by and share with you another projects we made using the Canister Die from Eileen Hull and Sizzix. This time, Ainsley's creation. This die is so versitile.

Ainsley needed a little container to hold all her makeup brushes...and we thought that this die would be just perfect.  The original cut was just a bit tall, so we decided to cut it down to 4 inches...perfect.

Of course, she had to go all out with the embellishments.   Ainsley chose some pink pleated trim from May Arts, a few flowers, bits of bling and a resin butterfly from Prima Marketing, and of course I couldn't resist throwing in a bit of new trim I had from Decorative Trimmings.

Hugs.

Monday, March 16, 2015

Shabby Little Clipboard

Hi everyone!   Are you ready for the weekend?  I sure am.  But before I rush off I wanted to share with you how I decorated one of the fabulous new Clipboards from Clear Scraps
Clipboard_clearscraps_nancy keslin_final
Step 1:  Stamp the backside of  clipboard with a music staff and white Staz-on ink.  I used a stamp from Prima Marketing that I have had in my stash for quite some time.
Clipboard_clearscraps_nancy keslin_stamp back
Step 2:  Collage back of clipboard with papers (I chose some scraps of Prima Almanac).  Stamp front of clipboard with Butterfly stamp, this one from Stampers Annonymous and Tim Holtz, and black Staz-on.  Because the papers are on the backside, and the stamping is all done in a solvent based ink, the final project won't just be beautiful, but functional as well.  
Clipboard_clearscraps_nancy keslin_stamp front
Step 3:  Create bead dangle by threading beads onto a head pin and forming loop.  I love adding that extra bit of sparkle from beads and crystals to my projects.  They just make everything shine.  
Clipboard_clearscraps_nancy keslin_headpin
Step 4:  Feed headpin through fibers and tie the fibers to clip of the clipboard.  Embellish with flowers. 
Clipboard_clearscraps_nancy keslin_angle
Finally I wrapped more fibers and a small word band (again, Tim Holtz)  around the bottom section of the clipboard and glued.  I would love to see how you chose to embellish your next clipboard.

Friday, March 13, 2015

Pretty Little Jar

Hi everyone!  Happy Friday.  I hope you have fun plans for the weekend.   Today I wanted to stop by and share with you a project I made for the Lindy's Stamp Gang Color Challenge.
I really loved the colors this month...and how adorable is that photo.

I used a jar that some Crate Paper embellishments came in as the base of my project.  I love that the jar is plastic, so I don't need to worry about breakage...and it can hold all those little bits and pieces that are left on my desk after a project.

I used some of the Marion Smith Color Lab colors in Vintage Rose and Coral Shine, mixed with Mod Podge to paint the jar.  Then the fun began.  I sprayed the tag with some Bonjour Butter and Cape Cod Coral Starburst then embossed with C'est La Vie Cerise embossing powder.

I used more of the sprays to color my flowers, and finished with a seam binding bow colored with Clam Bake Beige and a few stick pins.

This little lovely is already perched on my desktop filled with bits and baubles...and it makes me happy every day.

Wednesday, March 11, 2015

Here Comes Peter Cottontail.....

Hi everyone!  Hope you are having a great day.  Here we are getting ready for Easter.  So looking forward to it this year.  It will be so nice having Brighton home, and I love decorating for the holiday....maybe we will even do an egg hunt?  Well, I don't know if the children are up for that....maybe if I put money in the eggs.  lol

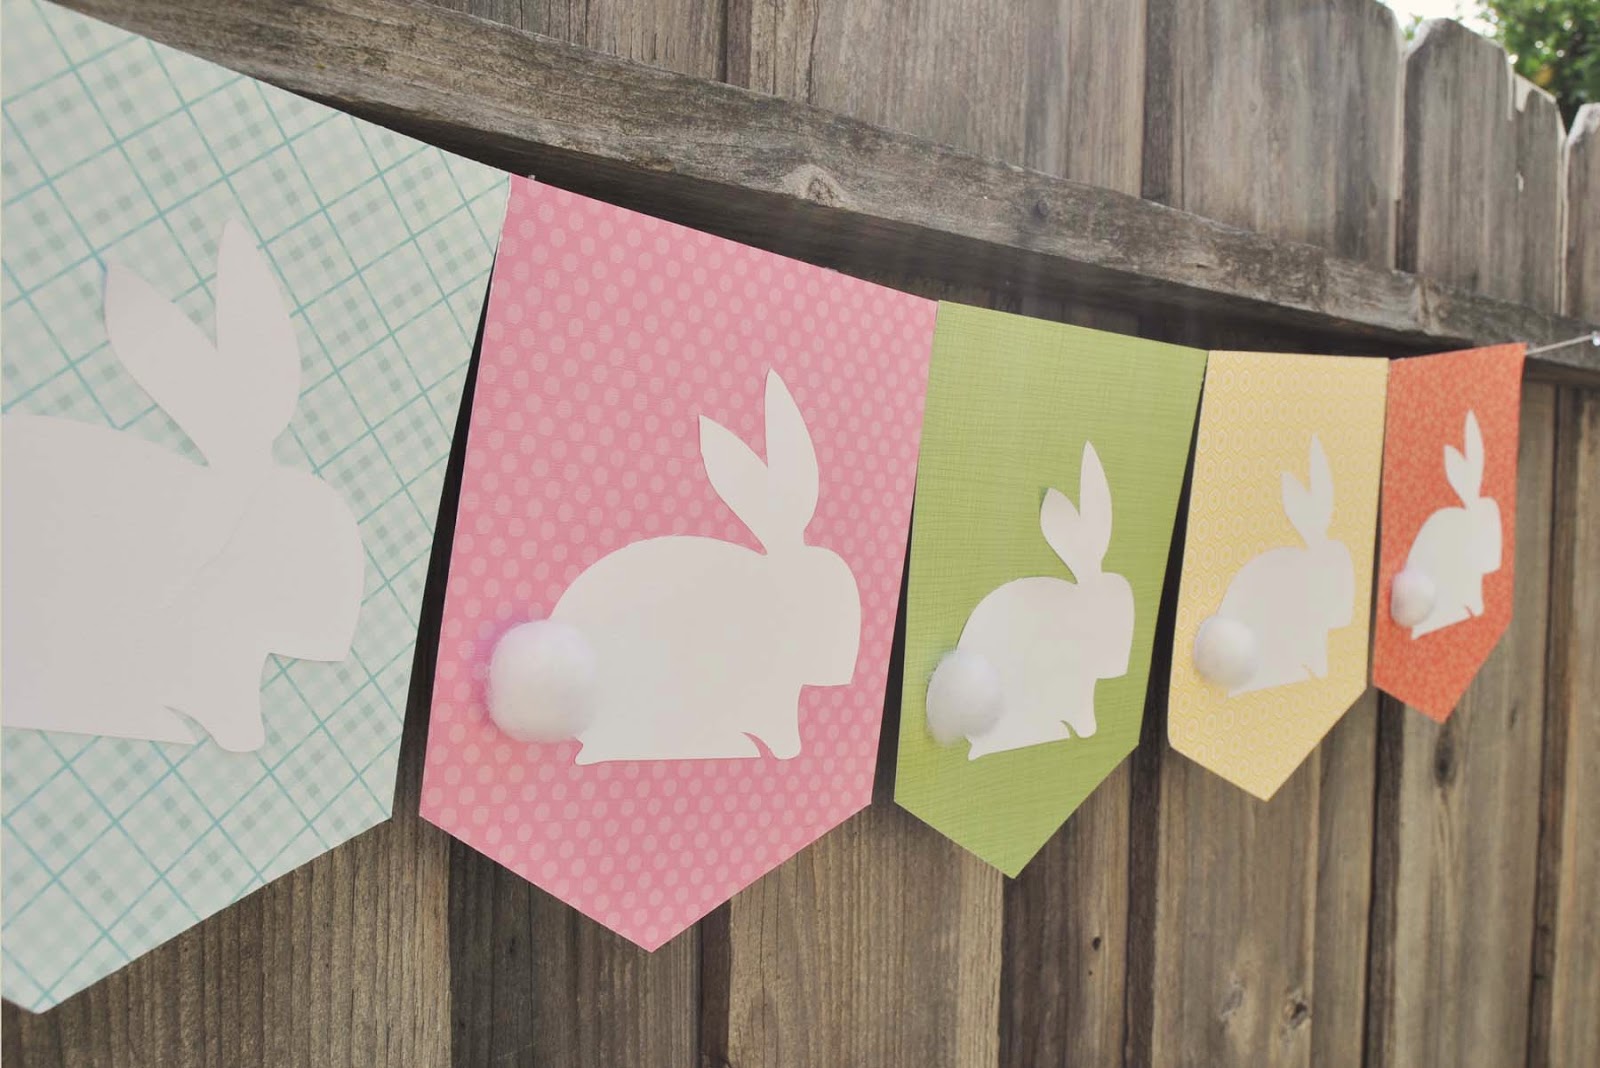
OK, anyway....wanted to let you know I have a post up over at Core'dinations featuring this Bunny Banner.....with a complete tutorial of course.


Go check it out.

Hugs.

Monday, March 9, 2015

Get Better Soon - Core'dinations Gift Box

Do you have a friend, family member, or co-worker suffering from cold and flu season? Check out this project I made for Coredinations....a Get Well Soon box made from a few basic Core'dinations supplies and filled with goodies to have them feeling better in no time.
get well box
Get Well Box Supplies:
first aid_coredinations_nancy keslin_supplies

Step 1: Trace box template onto white Core'dinations cardstock.  The 110lb cardstock has a nice weight and will create a sturdy box.  If you want something a little more heavy duty, you can add a layer of thin chipboard or shirt board.  Score along inside lines.  I added a bit of washi tape to hold my template while I cut.  
first aid_coredinations_nancy keslin_cut and embossStep 2:  Cut strips of Roasted Pepper, Jillian Dot paper 1/2 x 1 1/2 wide.  You will need 4 strips to create the cross shapes for the front and back of the box.  Love the cute texture of this paper.
first aid_coredinations_nancy keslin_red cutsStep 3:  Assemble box and attach Medical Cross to the front and back.
first aid_coredinations_nancy keslin_assembleStep 4:  Fill your box with your recipeint's favorite things.  Some suggestions include magazines, puzzle books, cough drops, tissues, hand sanitizer, tea bags, lip balm...really, the sky is the limit.  Don't forget a cute, bright colored tag with well wishes written on it.
first-aid_coredinations_nancy-keslin_fillled

Around here we haven't suffered too terribly this season.  I hope you have been just as lucky.

Hugs.